Microphotography
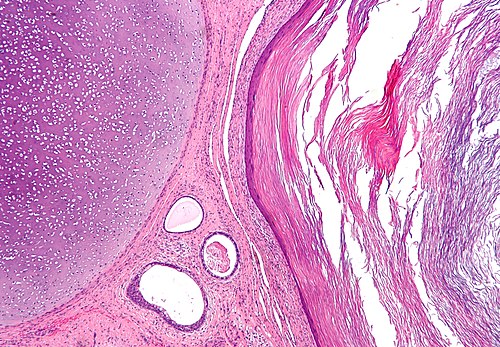
The article deals with microphotography, i.e. creating microphotos.
Taking the picture
Camera settings
Exposure compensation:
- None.
White balance:
- Normal.
Focusing
Setting live view:
- Rench (II).
- Live view function settings.
- Live View shoot.
- Live view function settings.
- Press "Set" button to open the shutter.
Use the zoom button (on the camera): press twice to digitally magnify 10x.
- Focus microscope as usual (@ 10x digital magnification).
Note:
- Post-processing will not fix a blurry image. They way to get sharp images is take sharp pictures!
Composition
- The centre of interest, usually, should be at the centre.
- An artsy look can be achieved by making use of the rule-of-thirds.
- Rule-of-thirds: centre of interest is at one of the four intersects of the imaginary lines that divide the image into thirds.
- An artsy look can be achieved by making use of the rule-of-thirds.
Post-processing
GIMP scripts:
- White-balance.
- Shadows & highlight.
White balance
- May be done with:
- White balance plugin.[1]
- Curves function (in GIMP).
Curves function (in GIMP)
- Adjust magnitude, then blue, then green -- red should be last.
- Low magnification images tend toward "too pink" with the white-balance script.
White balance plugin (script)
Procedure:
- Select
- Filters.
- Colors.
- White balance.
- Colors.
- Filters.
- Use eye dropper to select what should be white on the image.
- Set to "background color".
Edge effects/vignetting
The lens distortion/lighting effects at edge of image are known as: "barrel distortion" and "vignetting".
Notes:
- http://www.gimp.org/release-notes/gimp-2.4.html.
- http://www.gimp.org/release-notes/gimp-2.4-videos.html.
De-vignetting
Michael's Method
- Take picture as one wants.
- Remove slide and shoot the background.
In GIMP:
- Load image.
- Load background as a layer ("Open as layer... ").
- Make background into an "overlay" in Layers dialog box.
- Invert background.
- Save as jpg (merge with background).
Adapted from codeforhire.com
Procedure:[2]
- Load image in GIMP.
- Duplicate layer (right click on layer and select Duplicate Layer).
- Apply Gaussian blur to top layer.
- Filters -> Blur -> Gaussian Blur
- Select a blur radius 1/5 of the smallest dimension of the image.
- If the image is 2768x2110, the blur radius should be 2110/5=422.
- Select a blur radius 1/5 of the smallest dimension of the image.
- Filters -> Blur -> Gaussian Blur
- Invert top layer (Colors - Invert).
- Change top layer to Overlay mode.
Stitching
- A technique to increase the field of view.
Software:
Image:
Focus stacking
- A technique to increase the depth of field.
Software:
Image:
Dirt and defects
- It is best to clean the slide.
- Photons are free... time is not.
- Dirt and defects can be removed with the clone tool in GIMP.
Sharpening
- Images should be sharpened to enhance edges.
- This is particularly important if the image is projected on a large screen and/or enlarged.
- Over-sharpening makes images look like caricatures.
- Sharpening should be the last step in post-processing.
See also
References
- ↑ URL: http://registry.gimp.org/node/72. Accessed on: 26 July 2010.
- ↑ URL: http://codeforhire.com/2013/06/29/simple-image-devignetting/. Accessed on: October 16, 2014.
